

Good security practices in both small and large companies go a long way towards preventing breaches. Knowing where your network is vulnerable is part of the exercise in determining your current security risk. There are way too many tools that you can use to assess your weak points to ever discuss in a single blog post, but there is one we can suggest that is free, easy to use and can provide vast amounts of information about not only your own network, but any network on the planet. The tool is called Shodan and it has many applications and benefits. In this video tutorial by Marc Kaplan, a key member of the SENT team, he goes through the basics of what Shodan is and how you can use it to determine if your network is vulnerable because of exposed RDP services. There is a lot more to good security than just sending files safely, being able to know where your risks are will help drive your initiatives and give you insight on where you need to lock some open doors. We have included the transcript of the video if you prefer reading along with the video. We hope you enjoy the presentation and find it useful.
Transcript:
Good security practices in both small and large companies go a long way towards preventing breaches. Knowing
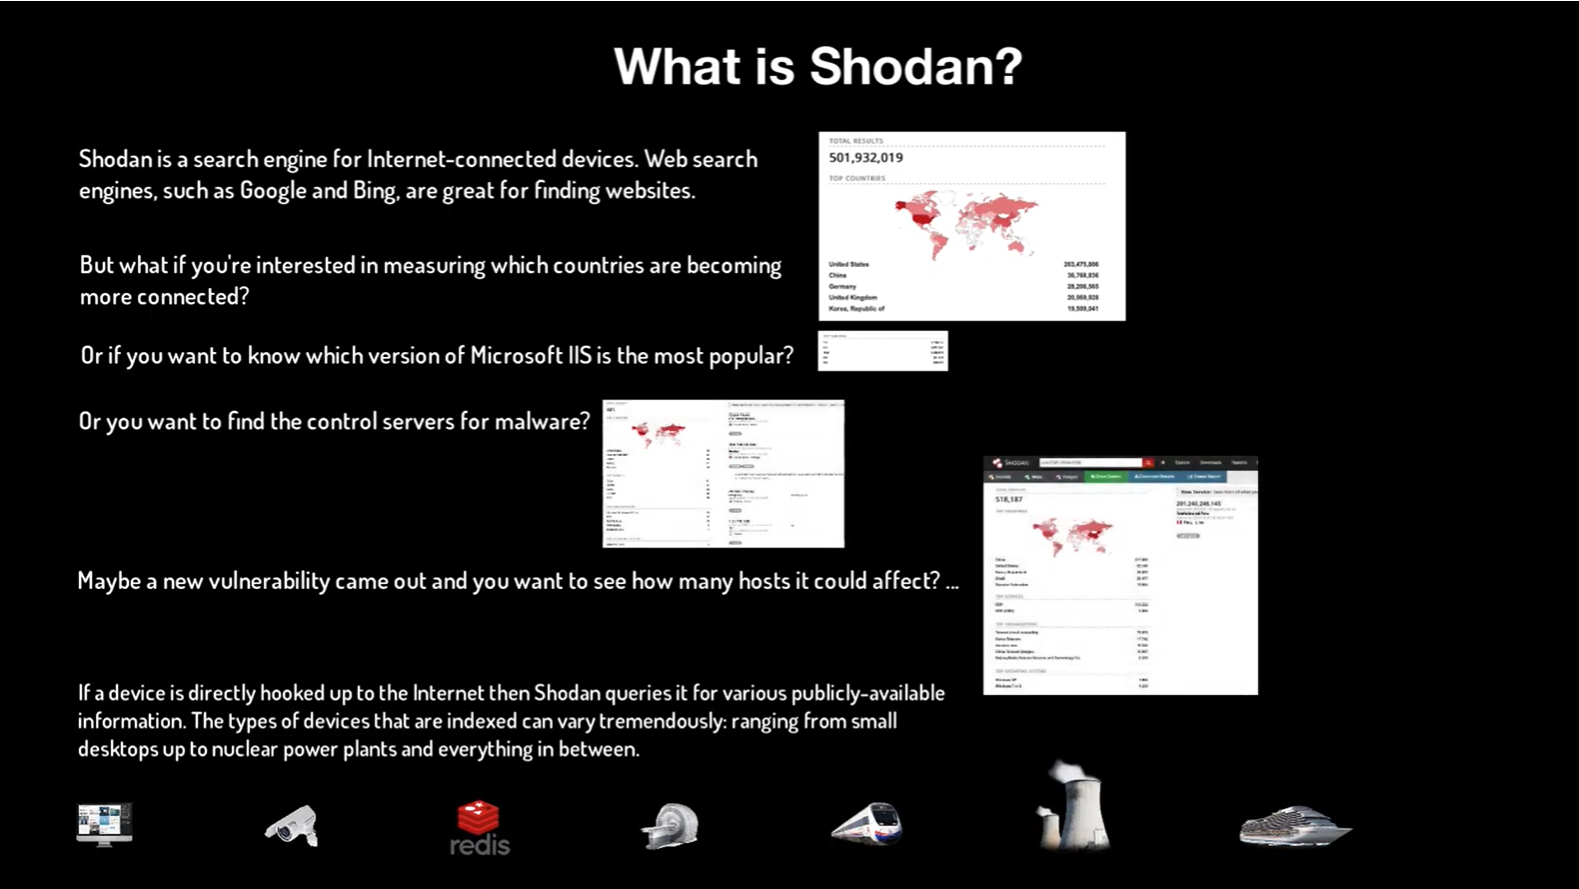
Hello and welcome the Using Shodan web interface : This episode introduces filters, Facets and working with RDP. We have a good amount of content to get through, so let us just jump right into it with a high-level introduction to Shodan. Whereas most search engines focus on web services, the Shodan search engine is used to locate internet connected devices, indexes service banners for a wide variety of services far beyond just web, such as RDP, SMB, SSH, Telnet and many more. I highly recommend reading the full story on Shodan’s website. While you are on their signup for a free account. That way you can follow along with me, during the labs.
To get started, we will look at Facets, which provide aggregate information. We see the facets located here on the left panel;
Top cities
services
organizations
Operating systems
And product
Facets are contextual, so they can change as new filters are applied. As an An example, we going to apply the filter for product: Nginx, resulting in the facet changing product to version numbers. Whereas facets represent summary view, filters provide a detailed host view. This page represents only a portion of available filters. Don’t worry about trying to memorize and interpret all the available filters, just yet. You will have plenty of opportunity to get comfortable with them during the labs.
Now would be a good time to pause the video and print the list filters from episode description panel.
With your search bar clear, go ahead and add filter country:United states and product:nginx. The country code will be 2 characters. In the case of United States, we will use US. Whereas product filter will be a text string. The filtered hosts are located here, in the center panel. Shodan is updated regularly. So dont be surprised if your searches yield dramatically different results overtime.
Pick any of the hosts in the center panel and click on it. This page represents summarized portion of the host’s general properties. We can see here and here, that this host matched the filter for country:US and product:NGinx. You will also notice, my host has additional products not covered by our filters, in this case its SSH. Its important to Note that the the host’s general properties page will contain all meta data, even if that data does not explicitly match a filter.
For our final step in this exercise, click on the raw data link. As you can see, Raw data represents additional meta data beyond what is found on the general properties page. We could easily spend hours discussing raw data, but we need to punt the discussion to the other episodes.
Quick Recap:
We have covered the basics of facets and understand that they provide big picture data views. And we also covered the basic purpose of filters, that is, to provide complete host specific views. Now lets expand on what we discussed to RDP searches.
Our first search will be a filter on port:3389. As you can see from the total results in the top left portion of the page, there are millions of potential RDP servers. Rather than trying to focus on millions of systems, we are going to work on getting the numbers down to a manageable size by applying additional filters. You might be thinking “hey wait a second!!”, are there really millions of RDP servers publicly available? Are there RDP servers that I am not seeing? The short answers to both questions are, yes, no and maybe..
Important tip: How could there be three different answers for one questions? Simply, When using the port filters by itself, you are almost guaranteed that your search results will contain bad or missing data.
Some of those reasons for bad or missing data could be caused by Port Address translation, banner manipulation, honeypots or one of my not so favorites, legacy practices. Before we get ourselves wrapped around the axle, let’s dig deeper
One of those Legacy practices is security through obscurity, which I feel can be ineffective and dangerous. Why is ineffective? Well, Its Evolution! Discovery tools have come a long way over the years from rudimentary port scanners, to advanced tools that are application aware and interactive, making it trivial to locate services running over non-standard ports which is known as security through obscurity. Then the danger aspect. such as a creating a false sense of security and while potentially undermining the IS team’s effort protecting the edge. If you are worried someone will find your servers on the Internet, then don’t put them out there. There are countless solutions available to enable secure remote access to internal systems. We will revisit security through obscurity a bit later on in this episode.
For now let’s keep moving forward.
CAVEAT WARNING :: if you put good data in, you will expect good data out.
Again, a reminder on bad or missing data Using some filters on their own, such as port numbers, can lead to bad data. This warning will make complete sense as we move through this episodes exercises
Ok, so already have the filter port:3389. So now lets try to get a bit more focused! Please, don’t get tempted, As I just did, to click on United States facet link. Don’t worry, nothing bad will happen if you did. Clicking on the facets is an easy way to apply filters especially if you are not sure of the correct formatting. But to get the most out of Shodan, you should have a good understanding of filter formatting. And in some cases, the facets shown might not be the ones you need. When auditing your network, you may find the important data not masses hosts but in the few. For now, Avoid clicking on facets.
Go ahead add state filter.
In this case, the two character code for California. State:CA. And now one more level down, add the string filter for the city: “San Jose”. Super important note: To use a value that contains a space, such as city:“San Jose”, you have to wrap the value in double quotes From a data hierarchy perspective, City filter does not represent the most specific geo. There are other options such as area codes and postal codes, that may provide more granularity.
Oh before I forget, there is one last item we need to discuss from our earlier conversation on good and bad data. If port numbers were your pathological lying cousin, City filters would be his bi-polar split-personality narcissistic brother. Hmm here is what I mean by that. Go ahead and clear the search bar except for port:3389. We are going to try the following searches: which should clarify my declaration.
First, add city of
City:washington
Interesting? United Kingdom, sure that makes sense. Lets get rid of United Kingdom by add the following filter -country:GB. The minus symbol will remove any host that are associated with Great Britain.
Before we waste too much time on this city filter, you should know that there are 88 instances of cities named Washington. Good data in and bad data out. Next,
city:paris
The filter would be port:3389 and city:paris
Well now.. there are three countries that have a city called Paris. We all expected just Paris, France, except those of us that thrived geography classes. And last one, city of manila. Which happens to be located in tropical state of Utah.
I am sure by now you get it.
How you apply filters is critical to the accuracy of your data.
At this point, we have covered enough of the basic caveats to somewhat safely move forward with the RDP exercises.
Step 1: We will get rid of as many non-RDP systems as possible. These methods are not completely full-proof, especially on their own. But they will still help you knock off a good number of the obvious items.
As a best practice covered in other episodes, we will go through multiple filter iterations followed by interactive service validation utilizing separate tools. First option: to reduce non-RDP systems would be to use the has_Screenshot:true
In the search bar, add the filter port:3389, has_screenshot:true
The search data returned will only contain systems that have a screenshot available. This filter doesn’t remove all non-RDP system but it does dramatically reduce the noise. We will need to add additional filters to remove services such as VNC, X11 and so on.
Keep in mind, there will be caveats with all filters we are using, but that discussion will need to get punted to another day.
As you can see, screenshot data is represented both graphically and textually.
Having the data in a graphic format makes it glaringly easy to notice the user accounts. While the textual representation hints that you can filter on the user data, which we will do shortly. Another filtering option which could obviates the need to use minus with product filters. Would be to add has_screenshot:true with an RDP data string. port:3389 has_screenshot:true and rap data string
This combination gets us a long way towards finding most of the RDP systems running on port 3389 and removing non-RDP noise. Lets switch direction by looking for the port:3389 diametrically opposed data or as we know them “the security through obscurity systems”.
We can start by excluding port 3389 using the – “minus” symbol in-front of the port filter. The filter would be -port:3389 has_screenshot:true
You will notice, we have services with screenshot true, except those on port 3389.
but we aren’t done yet. The facets hint that we have other services beyond RDP, such as cameras.
We have several options available to get rid of the non-RDP services.
We can try –port:3389 -product:vnc,x11 has_screenshot:true “x03\x00\x00”
Or simpler filter -port:3389 has_screenshot:true “x03\x00\x00”
The simpler filter will remove port:3389, and match on has_screenshot and RDP sting.
The Last clean-up filter for this exercise.
port:3389 -has_screenshot:true “Remote Desktop Protocol”
As you can see, there are many ways to search for RDP systems.
Although we haven’t achieved 100%, The filters and data strings used in these exercises, Never the less, will provide a good foundation to get you started.
As we are coming to the end of this episode, lets revisit the RDP user accounts.…
This is where imagination can provide interesting results.
Here are a few to get us started
This first one is a no-brainer. Let’s append the following text “administrator” to our last search
Not bad..
The next obvious account to try would be… “guest”
We can see there are over 11,000 RDP systems with a “guest” account
How about “billing” or “payroll”
How about “inventory”… not too many results. But you will see in our ICS episode, these small results can lead you down interesting auditing paths. Remember, some of the best data will be found in the few rather than the many.
And our last search port:3389 “[I”
This search will actually be our first search in our upcoming episode “non-english alphabet searches”
Make sure you are comfortable with a text translation platform, otherwise the episode might be “non iso basic latin, to you. “
Thank you for joining this episode and I truly hope you enjoyed the content.
Final thoughts…
Audit your network frequently. when possible, deploy systems internally to segmented enclaves in your DMZ and provide secure remote connectivity.
As Always, thanks for joining, we really do appreciate it! and look forward to seeing again.
Don’t forget to Subscribe, so you will get notified when new episodes are added.